Product
News
- Soosan SB121 Hydraulic Breaker for Chile – Precision Manufacturing from a Full‑Chain Chinese Factory
- High‑Performance Mini Excavator Breaker Hammer — Compact Power for Efficient Demolition and Rock Breaking
- Inside Hanyun’s Production of the SB40 Hydraulic Breaker – Precision Engineering from Raw Steel to Final Assembly
- Zhengzhou Hanyun Hydraulic Breaker — Furukawa HB30G Assembly Precision & Special Offer for Egypt Customer
- Backhoe Demolition 30 Ton Excavator Top Side Box Type Rock Hammer Hydraulic Breakers for Excavator
- Furukawa HB20G Manufactured by Hanyun: High‑Quality Hydraulic Breaker Ready for Shipment to Egypt
contacts
Contacts:Jacky Zhang
Phone:+8618937103255
Email:hanyunpsq@gmail.com
Address:No. 167, Xuchang Road, Shangjie District, Zhengzhou City
News
Efficient Guide to Installing a Hydraulic Breaker on an Excavator
Are you looking to enhance the capabilities of your excavator for challenging construction or demolition projects? Installing a hydraulic breaker on your excavator can significantly boost your efficiency and productivity. Follow this comprehensive guide to quickly and correctly install a hydraulic breaker on your excavator for seamless operation and optimal performance.
1. Select the Right Breaker for Your Excavator:
Choose a hydraulic breaker that aligns with the specifications and capabilities of your excavator. Ensuring compatibility in terms of weight capacity and hydraulic flow requirements is essential for maximizing performance.
2. Preparing the Excavator for Installation:
- Position your excavator on a stable, level surface.
- Lower the bucket to the ground and engage the parking brake.
- Safely shut off the engine and release hydraulic pressure by moving the controls.
3. Attaching the Mounting Plate:
- Place the mounting plate on the excavator arm at the designated installation point.
- Secure the mounting plate firmly using the provided pins or bolts to ensure stability.
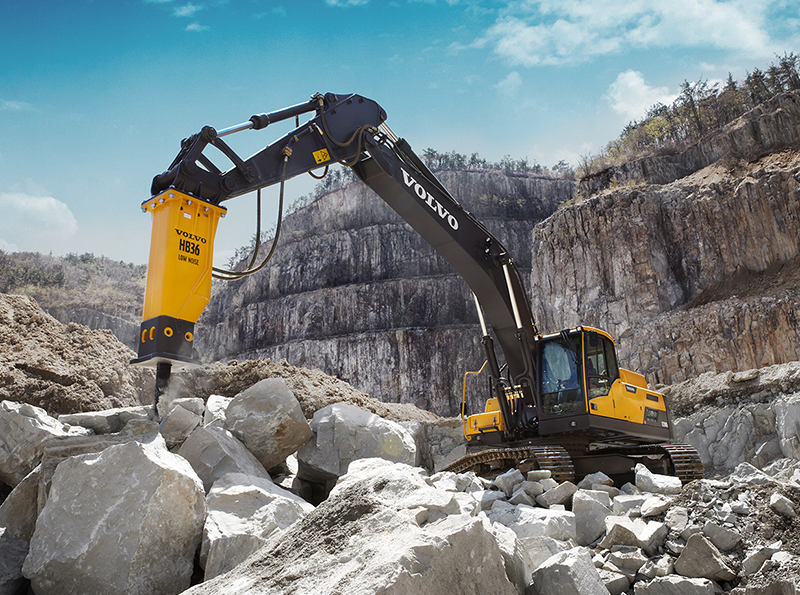
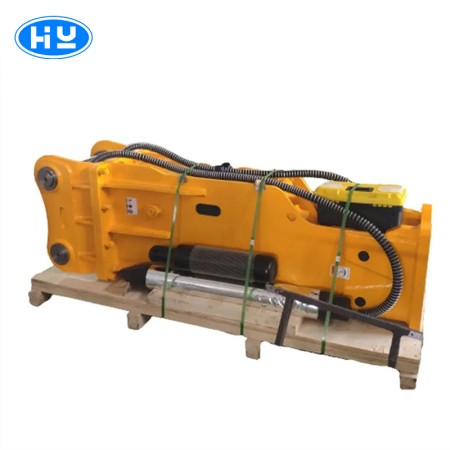
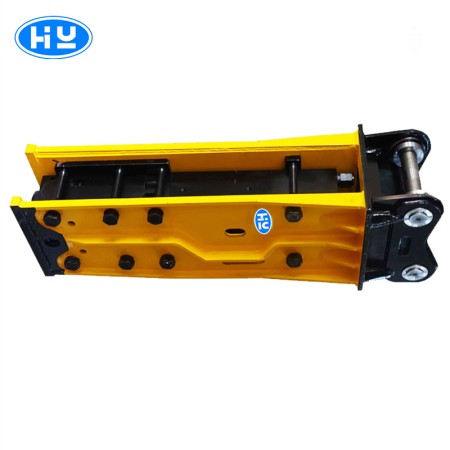
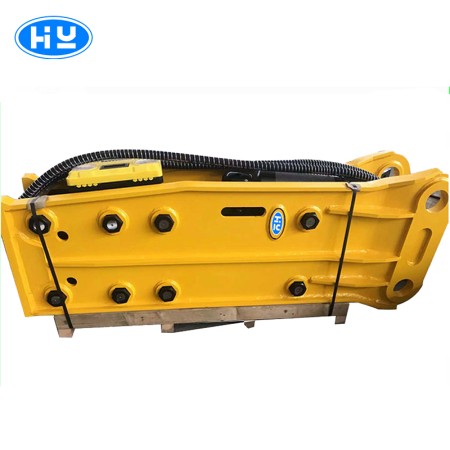
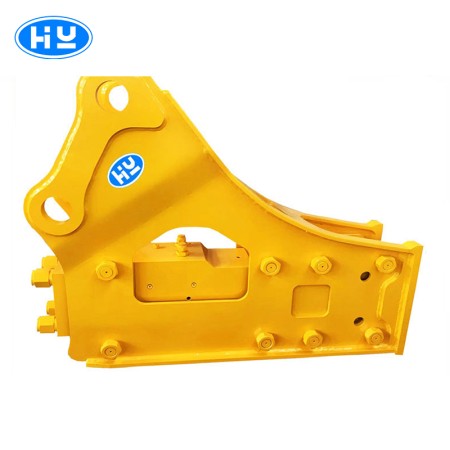
Excavator breaker
4. Connecting the Hydraulic Hoses:
- Identify the hydraulic hoses on the excavator that will link to the hydraulic breaker.
- Attach the hoses to the corresponding ports on the hydraulic breaker, following color-coded or labeled indicators for accuracy (commonly red for pressure and blue for return).
5. Securing the Hydraulic Breaker:
- Lift the hydraulic breaker using the excavator arm or appropriate lifting equipment.
- Align the breaker with the mounting plate on the excavator arm.
- Lower the breaker onto the plate and ensure a secure fit.
6. Locking and Securing:
- Utilize locking pins or bolts to firmly secure the hydraulic breaker to the mounting plate.
- Conduct a thorough check to confirm all connections are tight and leak-free to prevent operational issues.
7. Testing the Installation:
- Start the excavator and test the hydraulic breaker to verify proper functionality.
- Test the breaker at a low power setting to identify any irregular sounds or vibrations.
- Monitor hoses and connections closely for signs of leaks during operation.
8. Adjustment and Optimization:
- Fine-tune the hydraulic flow rate and pressure on the excavator to match the requirements of the hydraulic breaker.
- Make any necessary adjustments to the positioning of the hydraulic breaker to optimize reach and performance.
By following these detailed steps, you can swiftly and accurately install a hydraulic breaker on your excavator, unlocking its full potential for a wide range of construction and demolition tasks. Elevate your efficiency and effectiveness on the job site with this expert guide to hydraulic breaker installation.

